Showing posts with label scrapbooking. Show all posts

Sunday, January 25, 2015

Very Inspirations Layouts with GDT - Anita!

Back in July 2014, I was selected to be a Guest Designer for
Prima Marketing 'Bloom Girl'. Needless to say I was
THRILLED!!!!!
I couldn't believe it. So now it's January & my turn to share with you all my
projects I created :) :) *insert happy dance here.

Here's a bit about me:
"So you know you're an artist if you go through a glue stick faster than a lipstick!? Well that's me!! Hello, I'm Anita . Graphic Designer / Full-time mummy to one boisterous 3yr old boy (with no.2 on the way & enjoying every bit of it!!) & married to my best friend, Chris.
We live in Tamworth, the country music capital of Australia.

My love of art started at a young age & I had choosen my career path pretty early. I have always loved mixed media & the design process. Never shying away from getting my hands messy. I am lucky enough to say the quote “Do what you love, love what you do” applies to me. I started scrapbooking started about 10yrs ago & I haven't stoppped!! I have however since forgotten all the other basics like vacuuming, cooking etc - but we get by LOL. Paper & paint are like therapy to me! It calms me & satisfies my arty desires.

I have been on numerous Design & Creative Teams. I am currently designing for Flutterby Designs, 2Crafty Chipboard & Scrap the Boys. I’ve had layouts published in magazines such as Scrapbooking Memories, Scrapbook Creations & Jot Magazine. I have made many friends & met some awesomely talented people through scrapbooking, that inspire me everyday. I am truly grateful to have met them all.

'Be You Always'

 I LOVE to create my own backgrounds. I find it very expressive & calming
to start with a blank sheet. I primed my cardstock with gesso & stamp my
'summer' image using some archival ink. I then began adding my various
mediums to build up my layers. I used acrylic paint to add detail
& colour to my image. With a knife I cut along one side of the image
to allow me to slip my photo in under it. Then I finished off by layering flowers,


brads, thread, enamel dots & alphabets.
 PRODUCTS USED:
Bloom Collection - 'Summer' Cling Stamp
Bloom Collection - Brads
Bloom Collection - Paperclips
Bloom Collection - Flair buttons
Prima Marketing - Flowers

Prima Marketing - Color Bloom 'Gold' spray'Friends'
 I had a lot of fun making this one! I started off with some gel medium
& used my 'Free Spirit' stencil. Once that was dry, I put a white wash
of gesso over it to pick up the details. With mix of acrylic paints
& sprays I added in my colour. With a sewing machine & some
hand stitching I added a circular element to draw focus to the photo.
I've used lots of different things to build up my layers - old
book paper, paper doily, flowers, thread & even some of my
packaging from Prima products. I cut up strips of the teal
part of the packaging to create journaling strips.
To make the background image 'pop' a little bit, I used a fine black pen
& traced around the image.


PRODUCTS USED:

Bloom Collection - 'Free Spirit' stencil
Bloom Collection - Brads
Bloom Collection - Metal clips
 Prima Marketing - Flowers

'Don't Stop Creating...Ever'
Art Journal Page

 This was a quick & fun page to do some creative detoxing with.
I used some embossing ink, black embossing powder & Bloom Girl
stamp to start with & then began creating my background. I've used some
paint pens to add colour detail to the image & finished off with some
brush script.


 PRODUCTS USED:
Bloom Collection - Cling Mounted Stamp Two

Thursday, January 22, 2015

Fabulous Scrapbook page by GDT - Courteney!

Hey My Bloom Peeps! Courteney here! I had so much fun creating this layout. My beautiful nieces are to me what Bloom Girls are all about! Truly beautiful inside and out, sweet, strong & living there dreams.

I have to say Jamie's NEW Sirena Bloom Girl is my absolute favourite!!!!
I swear Jamie read my mind, I have wanted a Seashore Bloom Girl since I saw Jamie's stunning project she made for a Charity Wings advent. (I may have even begged her to buy it) Lol! So needless to say when I saw Sirena I may have jumped up and down flailing around like a fool!!!

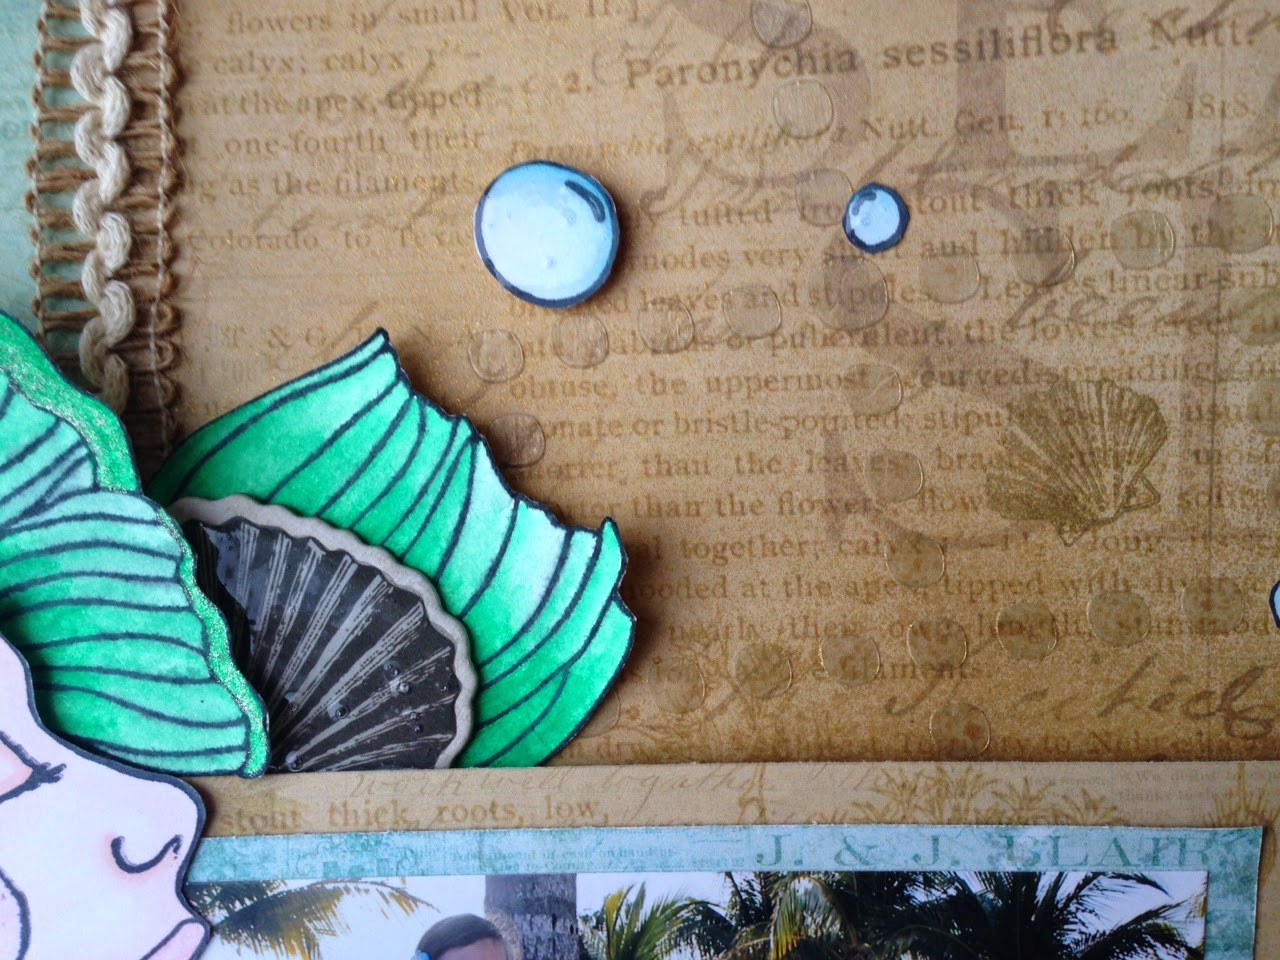
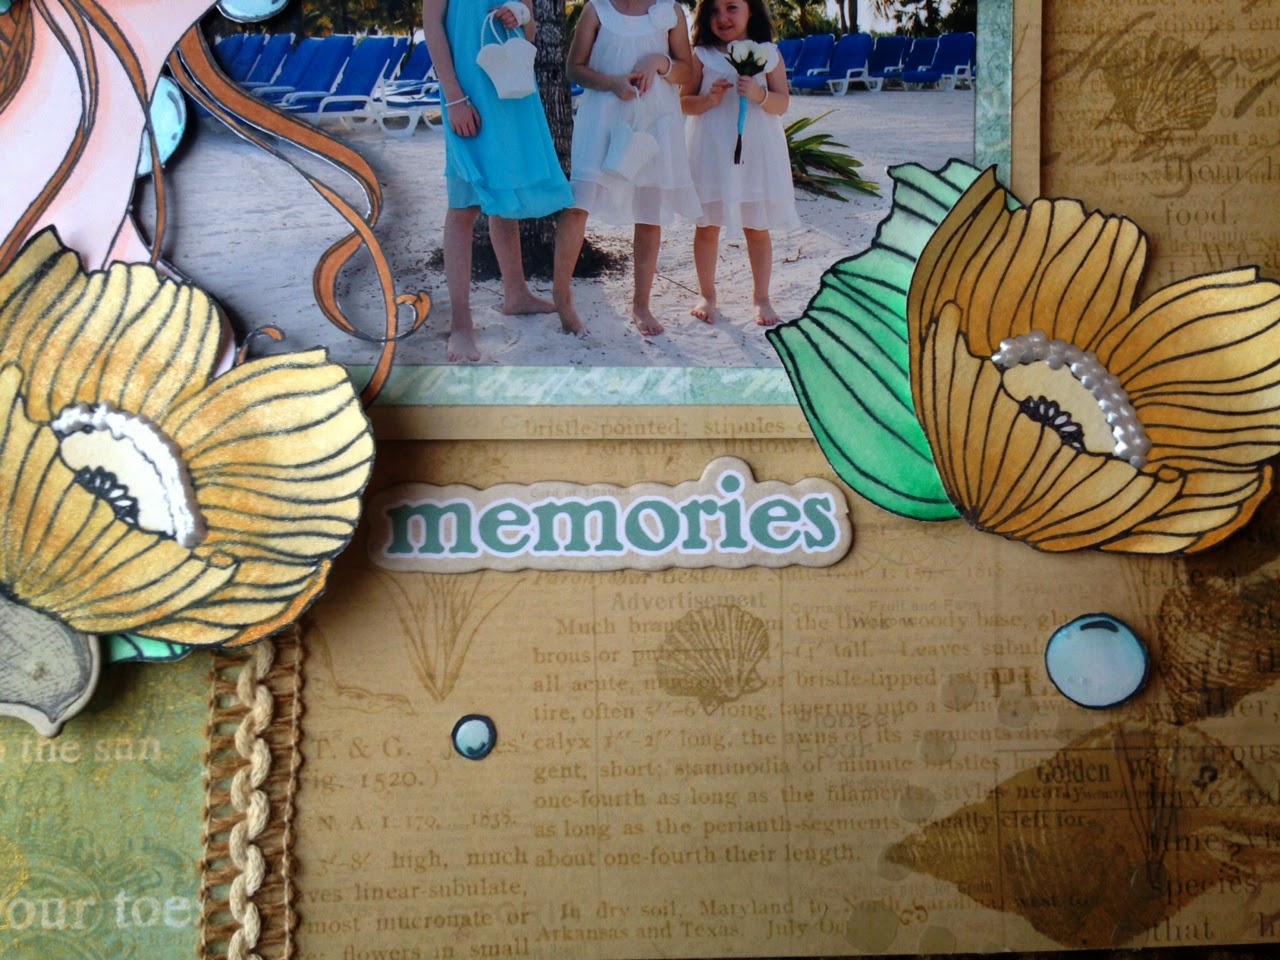
Playing with many of my favourite Prima products, this layout was so fun to create. Using Prima's Seashore paper collection, chipboard and stamps. Gold Foil Bloom spray and alway beautiful Prima trims. I just couldn't stop. Using Jamie's NEW Criss-Cross Stencil and Heavy Matt Gel Medium I added some cool looking clear texture for my background, then I lightly sprayed Gold Foil BloomSpay over the dried medium for another layer of dimension. Coloring Jamie's NEW Floral stamps with watercolour pencil crayons and Wink of Stella pens to add some sparkle and some pearls with a pearl pen. Sirena I colored with copic markers and watercolour pencils crayons adding sparkle and glossy accents here and there. Popping layers on top of layers with pop dots adding dimension everywhere. I just love how it turned out and I hope you do to!!!


List of Prima Products
Jamie Dougherty's NEW Bloom Girl Sirena #980344
Jamie Dougherty's NEW Floral Stamp
#980313
Jamie Dougherty's NEW 6x12 Criss-Cross Stencil #980412
Seashore Collection paper #814144
Seashore Chipboard pieces #813727
Seashore Clear Stamps #572600
Trim #573379
Color Bloom Gold Foil #573805

Thanks everyone for stopping by!!!
Courteney McMillan-Gibson
https://poshcreates.wordpress.com

Tuesday, November 18, 2014

A BloomGirl Altered Scrapbook Album

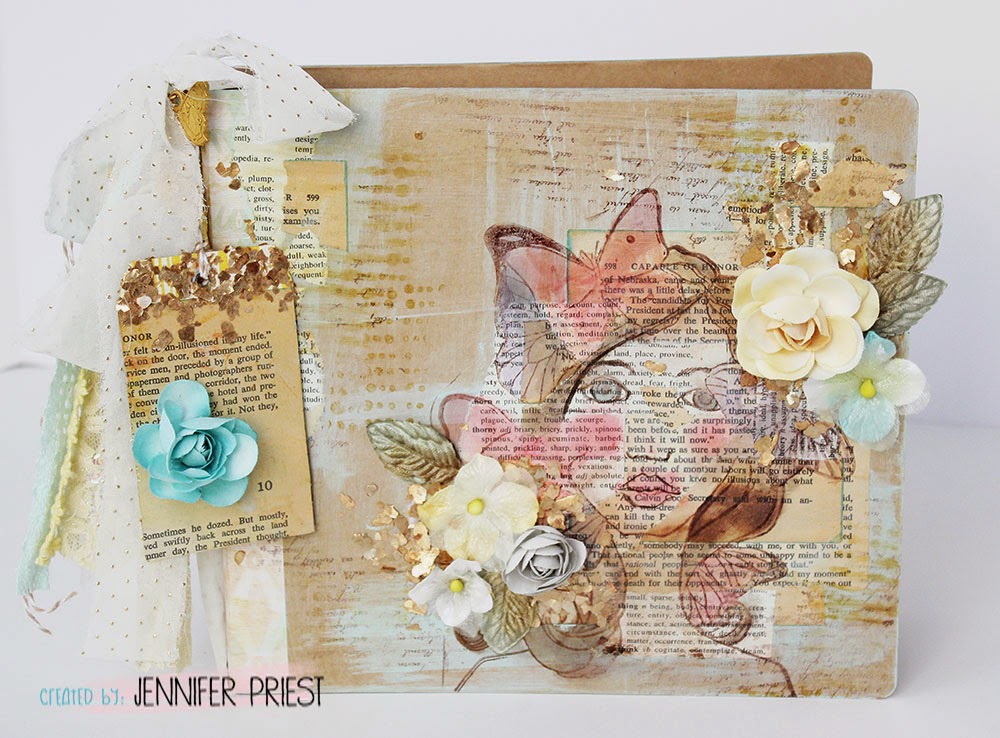
The gorgeous kraft paper cover of the Bloom Collection album is just begging to be altered! It's literally a blank canvas that you can customize for any theme or person. I decided to try some of the new Finnabair Art Basics on the cover while using the BloomGirl stamp "Sharon" as the main attraction:


I used the tag from the product packaging to create a hang tag on the binding of the book, to which I tied strips of lace ribbon, and torn fabric. I decoupaged book and dictionary pages to the binder cover, using Prima's new Chalkboard paint to add color. I then stamped the BloomGirl Sharon onto the book pages using ColorBox Crafter's ink, which I heat set to make permanent. Without heating, the ink would run when touched with your hands or with a marker or paintbrush when coloring the image in.


I used Tombow markers to color the stamped image in, using my fingers to blend the ink. I added some stamping with stamp wheels and then hot glued the flowers to the cver. I added dabs of Art Basics Gel Medium to the area around the flowers and sprinkled that with Art Ingredients Mica Flake.


Watch this handy dandy video I made that shows the process from start to finish:


Easy peasy right? Instead of attaching the tag to  the book, you could also use it as a holiday gift tag. Make a bunch of them from your old clothing and product packaging!


Supplies:
  • BloomGirl Sharon Stamp
  • Bloom Collection Album
  • Prima Gold Butterfly Charm
  • Prima Art Basics Gel Medium
  • Prima Art Ingredients Mica Flake
  • Prima Chalkboard Paint - Egg Blue
  • Prima Flowers
  • Assorted Ribbon and Fabric Strips
  • Rolling Stamps
  • Colorbox Archival Dye Ink
  • ColorBox Crafter's Ink
  • Heat Gun
  • Hot Glue Gun
  • Vintage Book and Dictionary Pages
  • Twine
  • Tombow Markers
  • Foam Paint Brush
Consider stamping faces onto book pages to make them easier to color (you won't have to worry about coloring the skin). You could totally do this on canvas too!

Visit my blog at hydrangeahippo.com


Monday, October 27, 2014

Light Up Your Day Bloom Girl Style with Sherry Bienert

Hey everyone! It's my turn again to bring a little Bloom goodness to the blog!! I decided to challenge myself a bit for this project!!! So while I was at IKEA with my fiancé, I took him over to the 'as is' section and said 'pick something.....' Five minutes later, with a smile on his face he hands me a tattered, stained, grey lampshade!!! I asked if there was a clean one, but with a grin he tells me no because this is the one he picked... And it's only 99 cents! I embraced the challenge and decided to showcase how easily anyone can transform an everyday object with things that are already in their stash!! Other then the lamp shade everything came from my stash already in the craft room!!


Let the transformation begin!!!! First I masked off randomly spaced, different width stripes vertically around the whole shade with painters tape, then painted between the lines with white acrylic paint. Before the paint dried I pulled the tape off then let dry completely. Using versamark and black embossing powder i embossed 'Summer' from the Bloom Girls cling stamps into place on the lamp shade.  Next I used Prima matte gel medium and collaged torn strips of old book paper, music sheet and drywall tape. Once the gel medium was dry I used a polka dots stencil And applied molding paste randomly around Summer and the paper strips! Let dry!


Taking an assorted selection of ink distressed Prima flowers and mechanicals, Bloom Girl brads, burlap and pearls I arranged them diagonally on either side of Summer. Using the Butterflies from the Sharon stencil and some black molding paste on a transparency sheet, I created beautiful 3d butterflies to add more dimension. I inserted my photo into a photo frame and selected a definition sticker and adhered with pop dots. To finish the shade off I added a few pops of color to Summer with acrylic paint and added a few splatters of white paint to tie everything together!!


And now I have a fabulous, customized lamp shade for my creative room!


Beautifulmess5891.wordpress.com

Sherry

Friday, October 17, 2014

Blog Hop Extravaganza with Westcott and The Bloom Girls!


We are SO excited to present you a STRONG and BLOOMING collaboration between the Bloom Girl line by Jamie Dougherty and Westcott! All the designers have been playing with amazing products from Westcott and we were thrilled to base our projects on the Breast Cancer Awareness campaign that is always held during October.

To celebrate this awesome opportunity, both Jamie and Westcott are doing giveaways* to one lucky winner. Nice, right?! To enter the giveaways, you must comment on each blog listed below and make sure to thank our dear Jamie on the Bloom Girls Creative group on Facebook and Westcott on their Facebook page. You can find their products HERE on the Prima website and HERE on the Westcott one.


*The Westcott giveaway is open to US residents only from Oct. 17th 2014 10am PT to Oct. 20th 2014 12am PT. The Bloom Girl giveaway is open worldwide from Oct. 17th 2014 10am PT to Oct. 20th 2014 12am PT.

Have a sneak at the Design team's beautiful projects, then hop around to see their finished projects. 


Jamie Dougherty
Janine Koczwara
Jeannie De Gruccio
Lisa Adametz
Louise Nelson
Mindy Baxter
Stéphanie Beauchemin


Happy Creating!!!


Monday, September 22, 2014

"Playing Pretty" - A Scrapbook Page by Jennifer Priest

Have you ever played "dress up" as a little girl? My daughter recently had a fun playdate with my niece where they played "make up" instead of "dress up". I know the Bloom Girl "Sharon" would be perfect for helping to capture this moment on a scrapbook page. The beauty of BloomGirls is that you can literally "make them up" however you like. Blue eye shadow and a bright red lip? Coming right up! This page captures the essence of "playing pretty".


Here's how I created this page start to finish:


Supplies:

  • Bloom Girl "Sharon"
  • Bloom Collection Prima Flowers- Sunkissed
  • Bloom Collection Brads
  • Bloom Collection A4 Watercolor Paper
  • Faber-Castell Gelatos
  • Faber-Castell Watercolor Pencils
  • ColorBox Pigment Ink in Black
  • DecoArt Media Misters
  • Black Acrylic Paint
  • Black Shimmer Cardstock, 12x12
  • White Cardstock
  • Adhesive
  • Gunmetal Glitter Paper
  • Paper Trimmer
  • Paint Brush
  • Water
  • Paper Towels
  • Heat Gun

Next time you find a cache of "dress up"or "playing make up" photos, consider using a Bloom Girl to help showcase the memory. Thank you for visiting today. For more from Jennifer Priest, check out http://hydrangeahippo.com


Friday, September 12, 2014

Scrapbooking Inspiration from DT Janine!

Hi it's Janine Koczwara here with my first Bloom Girl post.  I adore working with the Bloom Girl stamps, but I wanted to try and incorporate one onto a layout.

I have stamped "Gardenia" onto the amazing Bloom Watercolor paper, then proceeded to color with Faber Castell Gelatos and Watercolor Pencils.  To color with Gelatos, I rubbed some onto a silicone mat and then added water to make a lovely watery paint, allowing  me to paint her very easily and the colors blended well.  I then used flowers from the "Gardenia" stencil with Ranger Distress Ink, around the image before fussy cutting out to use on the layout.

Once I had my "Gardenia Girl" page accent all complete I went to town with other Prima Stencils and mixed media supplies to create this fun page around my daughter.


PRODUCTS USED:
980207 Prima Bloom Stamp - Gardenia
980252 Prima Bloom Stencil - Gardenia
980269 Prima Bloom Watercolor Pad
846824 Prima Epiphany Collection - Striking Appearance
846862 Prima Epiphany Collection - Words to Live By
846817 Prima Forever Green Collection - Garden Talk
572846 Prima Metal Dies - Flowers 2
577773 Prima Rodanthe Flowers - Whitecap
575922 Prima 6x6 Stencil - Decor 2
573744 Prima Bloom Spray - Iris
573935 Prima Bloom Spray - Tangerine
573805 Prima Bloom Spray - Gold Foil
Ranger Distress Ink - Mustard Seed
Ranger Distress Ink - Black Soot
Ranger Distress Ink - Dusty Concord
Ranger Distress Ink -  Ripe Persimon
Prisma Watercolor Pencil - Burnt Umber
Faber Castell Gelatos Boxed Set
White Sharpie Paint Pen
Black Cardstock


Monday, August 11, 2014

Mixed Media Layout with DT- Louise!


Happy Monday Bloom Girl friends!
 
I hope you were all able to get crafty over the weekend. Don't forget we have our first challenge going on all month long and all you have to do is use our photo for inspiration! You can use and art/craft supplies as you wish. You can check out the Challenge Post and play along!
 
Today we have DT member Louise Nelson sharing a gorgeous layout she created!
Louise used Bloom Girl 'Jing'. I just love all of the white and pops of color. This is just stunning!
Louise has heat embossed the stamped image and has used the Prima Bloom Sprays for the gorgeous color pops.


Thank you for joining us today, we will be back on Wednesday with some more inspiration from our Bloom Girl Design Team.
 
Have a wonderful week!
 
♥ DT Coordinator Mindy Baxter

Friday, July 18, 2014

Welcome the 2014 Bloom Girl Design Team

First off I'd like to thank everyone who sent in applications for the design team call. I was so blown away by the talent and am so grateful so many of you showed interest. We wanted to have so many of you on the team but we could only choose a few.

Now lets welcome our new team to the first ever Bloom Girl Design Team! They will be representing the Bloom Collection created by Jamie Dougherty Designs for Prima Marketing Inc. We have a very creative, talented group of ladies to introduce.


Here is just a peak of what is to come from these lovely ladies. 

Project by: Mindy Baxter

Project by: Stephanie Beauchemin

Project by: Louise Nelson

Project By: Wendy Morris

Thank you for joining us today and we can't wait to share this exciting new journey with all of you. 
The new Bloom Collection can now be found at your local scrapbook stores and online. 

Sample by: Jamie Dougherty

Happy Creating