Friday, October 17, 2014

Bloom Stencils and Twinkling H20 Fun

Hi it's Janine Koczwara here with another Bloom Girl creation.  I love to try and use just parts of the Bloom girl stamps and stencils rather than in their entirety as it allows for extra creative freedom.  For these projects I have used the Gardenia stencil and the Sharon Stencil, but just for the face outline, then I let the hair just come together with a bit of water colour fun!

In the image below I have used the Prima Bloom Gardenia Stencil to give the outline of the face and then I have had so much fun adding watercolour paint for the hair.  I like to do this as a two part process, adding standard watercolour paint first and then I like to go back in for extra dimension and highlights and use a similar colour in ColorArte H20's to add shimmer and volume.

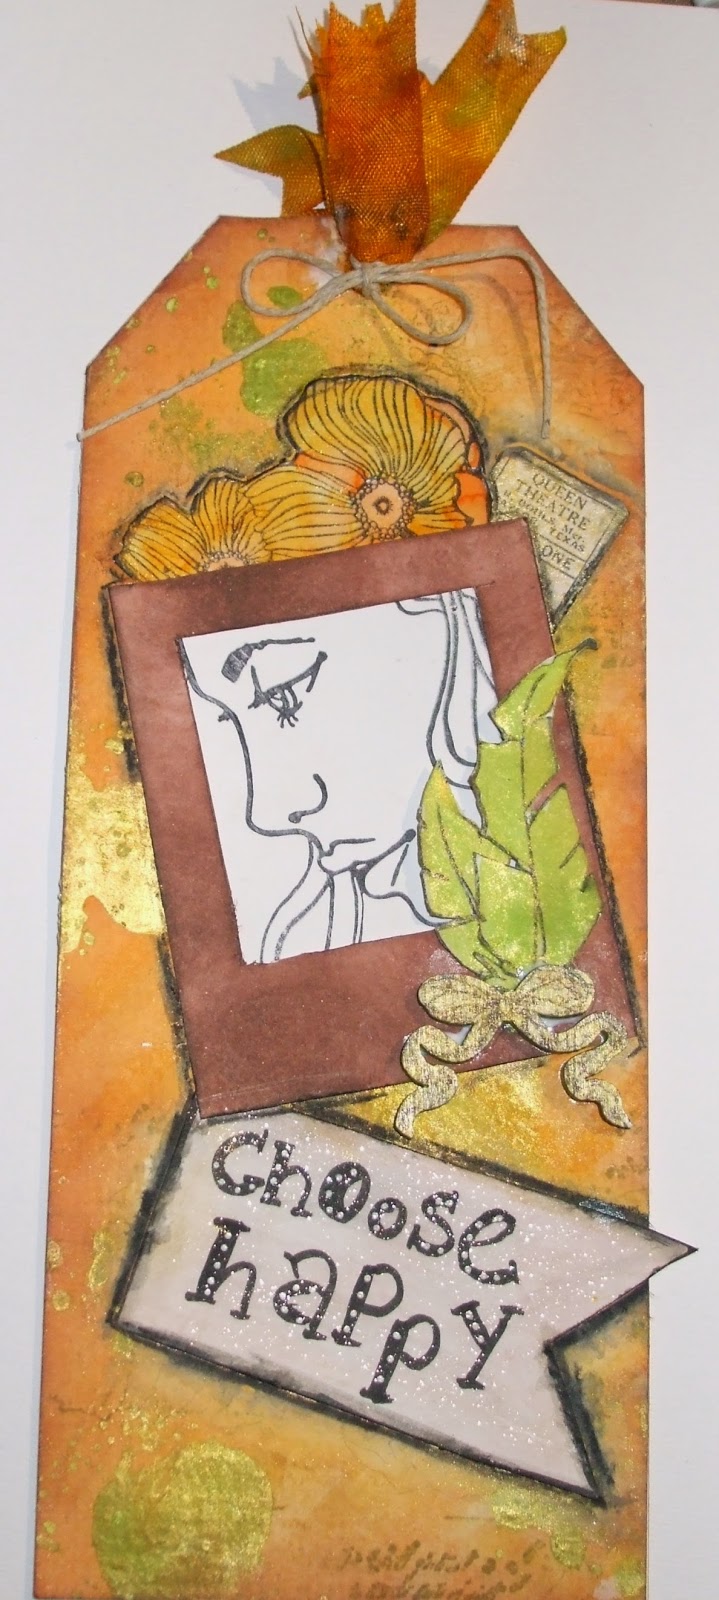
I also used the flowers from the Prima Bloom Free Spirit stamp, stamped onto watercolour paper and again coloured with H20's and fussy cut out before being added to the hair to capture the element of being wild and free in the wind.  For the face, I used a mix of Prisma Watercolour Pencils and Faber Castell Gelatos with touches of White Sharpie Paint pen for highlights and Black Sharpie for definition.


In the textural image you can see the detail in the colouring of the stamped images a lot easier as well as the added Prima Clear Glass Beads into her hair for some fun dimension.


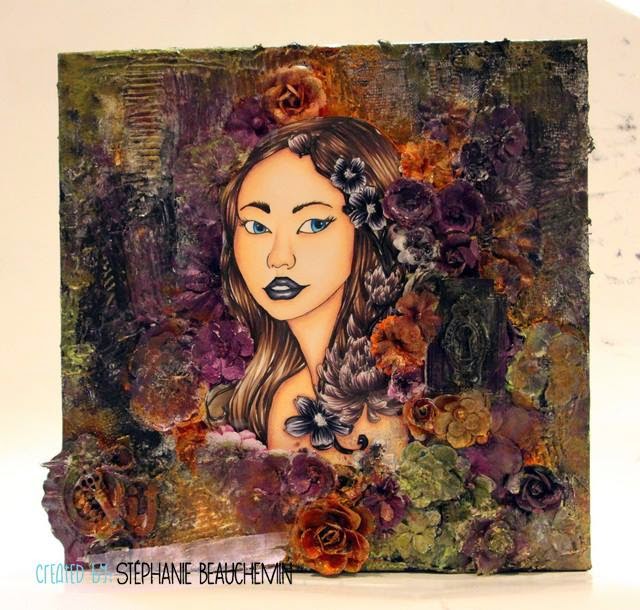
Below is another page I have created using one of the Prima Bloom Girl Stencils for a face outline.  On this one I have used the Sharon stencil, but as there is a big butterfly across the eye, I traced half the face through the stencil, then flipped it over, lining up the main features before tracing out the other side.  Just a quick and easy way to get more out of your stencil!  Again I have used watercolour paint for the hair in the same process as the first image, flat watercolour followed by ColorArte Twinkling H20's and as a final layer a quick spritz of ColorArte Gold Dust over the hair which adds a real "ethereal" quality to the image.  Both of these projects were created on the Prima Bloom Watercolour Paper Pad, which stood up to the large amount of water applied to the paper in this process.


Products Used:
980269 Prima Bloom Pad
980252 Prima Bloom Stencil Gardenia
980238 Prima Bloom Stencil Sharon
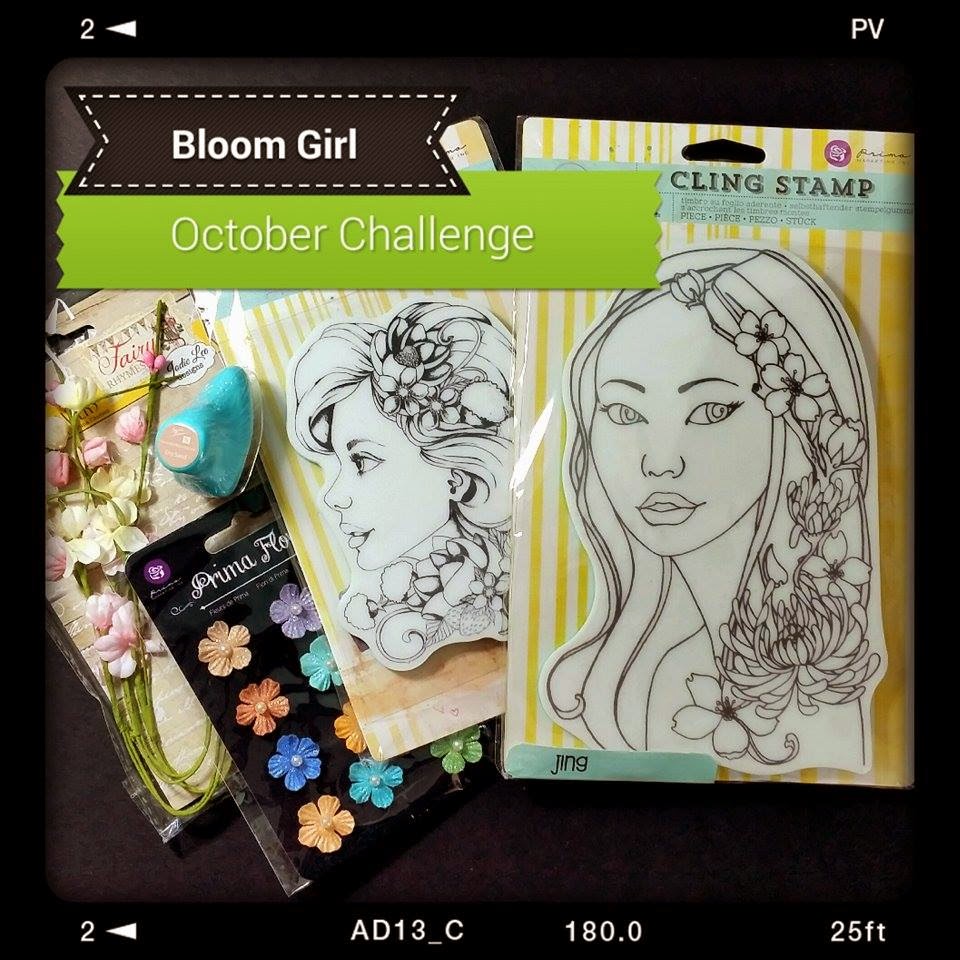
980184 Prima Bloom Stamp Free Spirit
Prima ArtIngredients Glass Beads Clear
Prima ArtBasics Soft Matte Gel
Prisma Watercolour Pencils
Faber Castell Gelatos Set
Sharpie Paint Pen White
Black Sharpie
ColorArte Twinking H20's
Color Arte Polished Pigment Powders


Thursday, October 16, 2014

Golden Girl Sharon By DT Louise

Hello Hello fellow Bloom Girl Fans :) :) :)

Today I would like to share with my project featuring the fabulous Sharon Cling Stamp.

To create this project I have first mono printed 2 black cardstock backgrounds with the gold paint and heat embossed the Sharon Stamp image on them both, with thick black embossing enamel powder.

With one I cut out three of the butterfly's to use as dimensional embellishments on the other.

Completing the embellishment I have used some gold and silver sequins, some Stickles [on the butterfly's wings] and some adhesive crystals and metal branches.


Thank you for dropping by today, I do hope that you are enjoying the awesome inspiration by the team this month.

Cheers and Happy Bloom Girl Creating!!!


Monday, October 13, 2014

October Challenge with DT Lisa


Hi everyone! It's Lisa here with you today and I'm bringing you my take on the October Challenge. Have you played along yet? You have all month long to participate! Just grab your fave Bloom Girl and get going. Here's the inspiration photo (as a quick reference) :


Current Challenge

And here's my take on the challenge photo. I used the same Bloom Girl stamp (Jing) and the colors:


What I did was to stamp her on black paper and heat emboss in white. Then I colored her in using pastel pencils. I added some highlights on the flowers using Viva Decor Precious Metal Color in Lilac and Copper. Her hair was darkened using Wink of Stella in black. And her lips and her one (showing eye) were glossified (hahha!) using Glaze. Oh! I also changed the color of the one purple flower. It WAS white. ;) Sneaky, huh? I just used a PITT Artist Stamper's Big Brush Pen to do that. The metal embellishment was painted with lime green acrylic paint then dabbed with black acrylic paint on top. Fun card that's easy to recreate.


Easy right? I always love seeing what everyone else creates during these challenges. I hope that you enjoy what WE create too and can see how easy it can be. 

HAPPY MONDAY!


Wednesday, October 8, 2014

Mixed Media Layout with GDT Sherry!

Hey everyone, Sherry here:) I just wanted to share with you this little gem inspired by my nieces Princess Party birthday! 

With Frozen on the brain, I used a variety of cut outs from the Silhouette Cameo, distressed inks, flowers, mechanicals, a few Bloom Girls brads and tons of stencils and mediums, I created this fun, bubbly, layered layout!

I applied Gardenia with her stencil and a brown resist chalk edger! 

I sprayed my girl silhouette and half my flowers with Bloom sprays. I mixed gel medium with Lindy's Stamp Gang magicals to apply through a bubble stencil onto girl silhouette. 

Using extra papers/stickers from my stash I layered some under my main photo (after enhancing with Faber-Castell gelatos) 


Using a variety of stencils (snowflakes, 'princess', bubbles) and a variety of mediums (molding paste, gloss gel medium mixed with magicals, matte gel medium)
 

Adhere girl silhouette with pop dots to the center right of the layout blowing towards the top left corner. 

I enhanced my silhouette cut bubbles with crackle paste and distressed ink. I adhered photos (with the exception of the main photo) to show through random bubbles. Cut into 3-5 bubble sections. Adhere a few sets of bubble without the photos so they appear to be blown from the girl towards too left corner. Adhere main photo onto coordinating paper using pop dots then adhering it on the top left section. Arrange all other bubbles, including the ones with photos in them, around the main photo. 

Arrange flowers, mechanicals and brads to the bottom right to tie it all in!!! 

Monday, October 6, 2014

Bloom Girl Hope card by DT Stephanie!

Hi everyone! 

Stephanie here on the blog today for a card with Bloom Girl Hope. She inspires me vision, and the concept of being open-minded to all that happens to you.

I stamped her twice, first on Xpress blend sheet and then on a patterned sheet from the gorgeous Cartographer line at Prima. The blank silhouette on Xpress paper got coloured with Copics markers (E000-00-21-11-04, R20, BV20-23-25-29, V91-95-99). I decided to cut the hair out of the Cartographer girl, leaving an opening for the flowers, and I traced the edges with black marker, then glued it on the first silhouette.

I also used other papers from the Cartographer collectionCartographer flowers, Cartographer flair, Ingvild Bolme resin frame from Prima Marketing, Tim Holtz long fasteners metal brads, Distrezz-it-all tool from Zutter.


Thanks for visiting us today, and don't forget to check in on our Facebook group to see sneaks and many other fun things about the Bloom girls <3


Friday, October 3, 2014

Zombie Bloom Girl Gardenia.

 
Hi there crafty peeps It's Mindy here!
 
 Since we have a gorgeous color combo/inspiration board I thought I'd make a Halloween Card. I used the Gardenia Bloom Girl Stamp. I wanted to make her look like a vampire or zombie, so I colored her lightly in my skin tone colors E11, E00, E000 then I went back with W5, W3, W1 and W00 to give her that 'dead pasty look'. I love the way it turned out. I had some flowers on this, but I thought it took away from the image, Soooo this was a no flower card. Shocking, right!?
 
 Remember ..you don't have to use a Bloom Girl Stamp to enter.. and you could win a fabulous prize from Jamie Dougherty!
 
Hope you all have a wonderful weekend!


Wednesday, October 1, 2014

October Bloom Girls Challenge 3


Hello Bloom Girl Friends!
Wow, September sure came and went! Thank you all so much for your gorgeous entries in our September Challenge. It was a tough decision but our winner for the September challenge is ...
 
 
Here is the gorgeous bookmark she created.
 
 
Congratulations! Please email Jamie at bloomgirlct@gmail.com to claim your prize!
 
Now for October's Challenge!
We have a spooky color theme/inspiration photo for this month. Jamie Dougherty did a fabulous job with this. I just love Bloom Girl Jing.

 
Starting this month we ask you to use a Bloom Collection item in your project. If you are interested in getting some products you can see a list of retailers HERE. You have all month to participate!
Look at this gorgeous prize package you could win!
How could you resist not playing along!


This month Sherry Bienert so look out for her gorgeous creations throughout the month!
Now for some inspiration from our ever so talented Designers!

Sherry


We hope you will join us this month!
Have a great day!