Showing posts with label Bloom Girl Paige. Show all posts

Monday, January 19, 2015

Paige Collage Canvas

Hi bloomies (it's okay if I call you that, isn't it?)! It's Lisa back with you and another project to share. I decided to make a collage canvas using the Paige Bloom Girl and show you my steps. Here is what I made:

She is soooo pretty, don't you agree? I don't think there's anything you could do to her to make her look ugly. Hahha!

Let's take a look at what I did to create her:

1. Start by gathering up the papers wanted to create the background. * I usually do a "dry fit" and take a pic with my iPhone.

2, Rub Gelatos® in various shades over canvas. This is just so that there is color peeking through any empty spots instead of white. Not a necessary step, but something I really like to do.

3. Using the "dry fit" photo adhere the papers to the canvas using Gel Medium. *Be sure to use a very dry brush (even though it will become wet in the Gel Medium) to prevent the Gelatos® from smearing, if used. Be certain to apply the Gel Medium both under the paper and on top. Either heat set or air dry. Once dry, trim off excess paper.

4. At "seams" of paper, apply either Gelatos®, PITT Artist Stampers Big Brush Pens, or other color medium.

5.  Place the Bubble Stencil over the background that is being created and using the Color Bloom Spray in Soft Teal and Tangerine and spray over the background. Tilt to drip (if desired). Dab off excess. Then take cap off Color Bloom Spray in Gold Foil and tap onto background. Spritz lightly with water to drip.

6. Add contrast to larger circles with PITT Artist Stampers Big Brush Pens. Blend with fingers.

7. Stamp Paige Bloom Girl onto white tissue paper using Coffee Archival Ink. * I like to use a piece of paper under the tissue paper and a foam mat under that to ensure even pressure of the stamp and a crisp image.

8.  Adhere the tissue paper Paige Bloom Girl onto the background again using Gel Medium. Heat set or allow to dry.

9. Begin to embellish as desired! I can't tell other people how to embellish a project. This is personal preference. (I used all PITT Artist Stamper's Big Brush Pens to color since they are highly blendable with your fingers.) Other items used: Prima Trim, Prima Flowers, rub-ons, and Faber-Castell Design Memory Craft® Texture Luxe & Texture Gems.

(You should be able to see the coloring in photo 9 start to take place.)

Here are some close ups of the finished project:


and of the bottom...


I love that sweet, secret little surprise! 

So now that YOU know how easy it is...how about you share your own creations with us on the Bloom Girls Creative Group on Facebook ? We'd love to see. :) 

Here is the list of products that I used:

Prima:
Prima Bloom Girl Stamp (Jamie Dougherty Designs):  Paige– 980554
Color Bloom Sprays:   Vintage Metal – Gold Foil – 573805, Tangerine – 573935, Soft Teal - 573782
Prima Stencil:  Bubble - 960445
Prima Flowers:
*Cartographer Adventurer – 574529
*Bloom Radiant Petals – 575205
*Bloom Freshly Picked – 575212
*Bloom Sunkissed - 575182
Paper: Coffee Break – 846985
Trim - 573614

Other:
Ranger Archival Ink – Coffee
Faber-Castell Design Memory Craft®:  PITT Artist Stamper’s Big Brush Pens – Black (199), Warm Grey IV (273), Nougat (178), Permanent Green Olive (167), May Green (170), Magenta (133). Texture Luxe – Gold, Pearl. Texture Gems – Gold, Clear. Gelatos® - Metallic Mint, Metallic Melon, Butter Cream.  Gel Medium. 


Thursday, November 27, 2014

Bloom Girl Gift Tags by DT Louise :) :) :)

Hello Hello Fellow Bloom Girl Fans :) :) :)

Today I would like to share with you some tags that I have created using the Instachic stamps and the newer release Jing cling stamp :)

First up I have creates 3 small gift tags ussing the fabulous Instachic range of cling stamps; Joy, Karlie & Paige.

I have heat embossed the stamped images with some lovely gold embossing powder, and also added a bit of dimension with some fussy cutting :)


This last tag is one I created for Prima Marketing to celebrate the birthday of the Prima Creative Director. I have again embossed the stamp image [Jing] and added dimension with some fussy cutting of the flowers, which extend off the edge of the tag :)


Well that is it from me for November, I do hope you are loving the Creative Teams Inspiration so far this month?!!!

Cheers and Happy Creating!

Thursday, November 20, 2014

Paige's Christmas mood by DT Stephanie

Good morning Bloomies!

Stephanie here on the blog today with another Christmas card inspiration for you! This was a tricky one, as I was challenged to use only Prima products, but I didn't have any holiday papers left :-S So I decided to put the focal point on the gorgeous Paige, stamped in Memento ink and coloured with Copic markers. 

You can also spot these items, all from Prima:

980054 Bloom Girl - Paige stamp
846961 6x6 Epiphany paperpad
576875 Jute Trim - Wheat
577018 Lace Trim - Cloud
577094 Weave Trim - Oatmeal
891084 Resist Chalk Edger - Branch Bark
577780 Paper leaves - Rodanthe - Neptune
911041 Mini Julie Nutting Dolls - Wood Embellishment and trim from the packaging

564674 Metal Paper Clip - Lifetime


So what do you think, are you going to try and give a Christmas mood to your own Bloom Girls?


REMINDER!!!

 OH and did you see?! Our sweet Jamie is having a dt call! Be sure to share your creation using the Bloom Girls products on our creative group, you never know if you might end up with an invitation from Jamie herself to be on the team, woohoo!!

Thanks for visiting us today, and don't forget to check in on our Facebook group to see sneaks and many other fun things about the Bloom girls.

Wednesday, November 19, 2014

Bloom Girl Art Book with GDT Lisa Novogrodski.

Hi Everyone! It’s Lisa Novogrodski here and I am thrilled to be guest designing this month for
Jamie Dougherty’s Bloom Girl Team!
I wanted to do something a little “out of the box” with the Bloom Girl stamps. If you are familiar with my work then you know I like to use products in a different way then they were intended. Nothing is safe. If I can cut it up, rearrange it and put it back together again that is what I’ll do! Soooo… today I want to show you that you are only limited by your imagination when it comes to these fabulous stamps. While you can stamp and color them and use them on your project you can also stamp and rearrange them into whatever path your imaginations takes you down.
 
“See The Beautiful Foolishness of Things and Linger”
 
I’ve used the Bloom Art Book to create my project. I love that the pages already have some color and pattern to them. No “blank page fear” if you happen to suffer from that.
 
 
I stamped the Bloom Girl Joy on white cardstock and cut the flowers from her hair…and well… I cut off her hair!  The stamped flowers were colored with Caran d’ache water soluble crayons which I love. I also stamped with Clear Stamps and the flower stamp that came with the pack of Flair Buttons. I splattered the background with Bloom Mists and added some art doll parts to the girls!
 
 
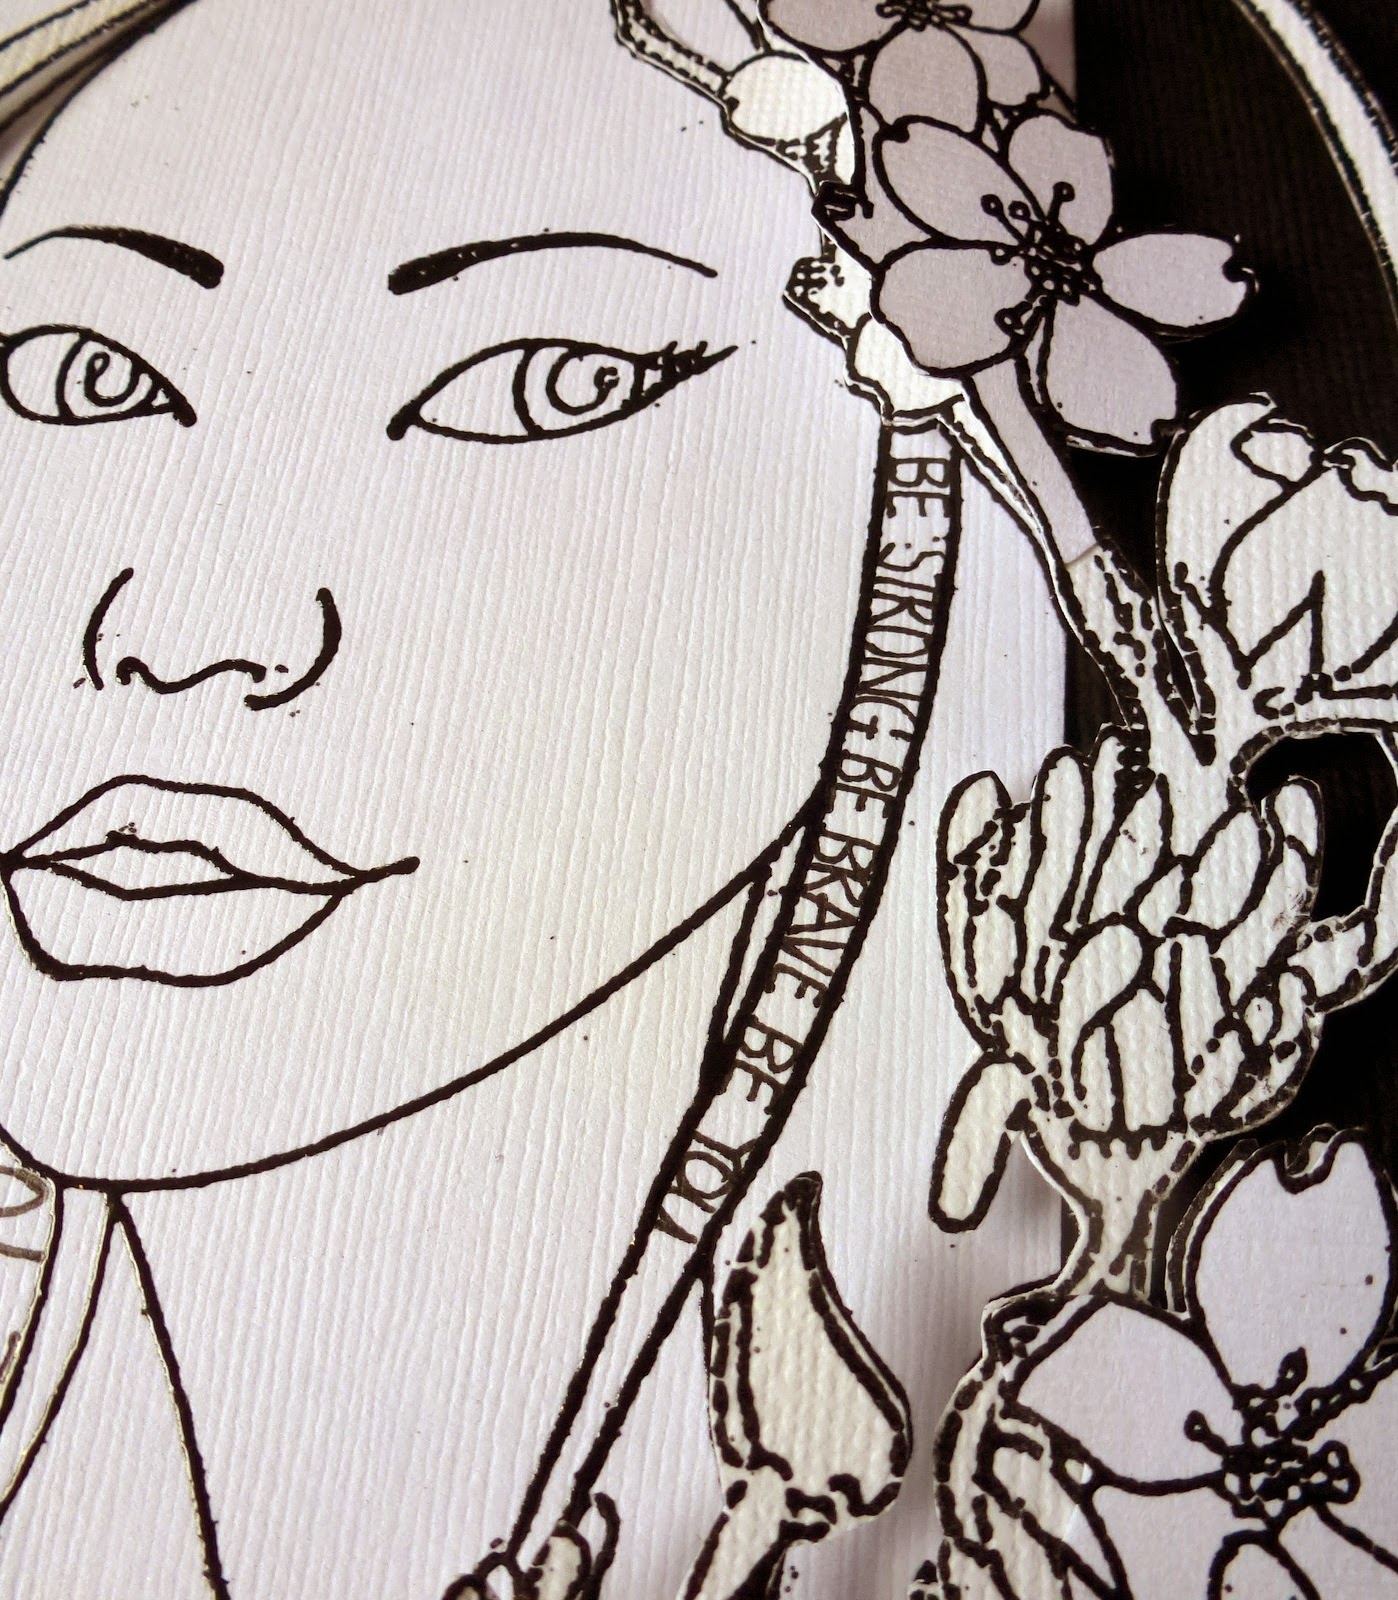
On the opposing page I used Bloom Girl Paige. Again I cut her hair off and stamped her on white cardstock. I also stamped her again several times on pattern paper. I cut the flowers out and used a mix of those cut from pattern paper and those cut from white cardstock.  I mixed them into background scene as well as forming a crown of flowers for her head. I used Caran d’ache to color her face and the white stamped florals.
 
 
I set my Bloom Girls in a scene adding some more art doll parts and background interest to give my pages a fun quirky look! Give it a try!
 
Products:

Bloom – Cling Stamp Paige
Bloom – Cling Stamp Joy
Bloom-Typewriter Keys
Bloom Art Book
Bloom- Clear Stamps
Bloom- Flair Buttons
Color Bloom- Soft Teal
Color Bloom – Cotton Candy